Vectric-cut2d-pro-10-514 Instant
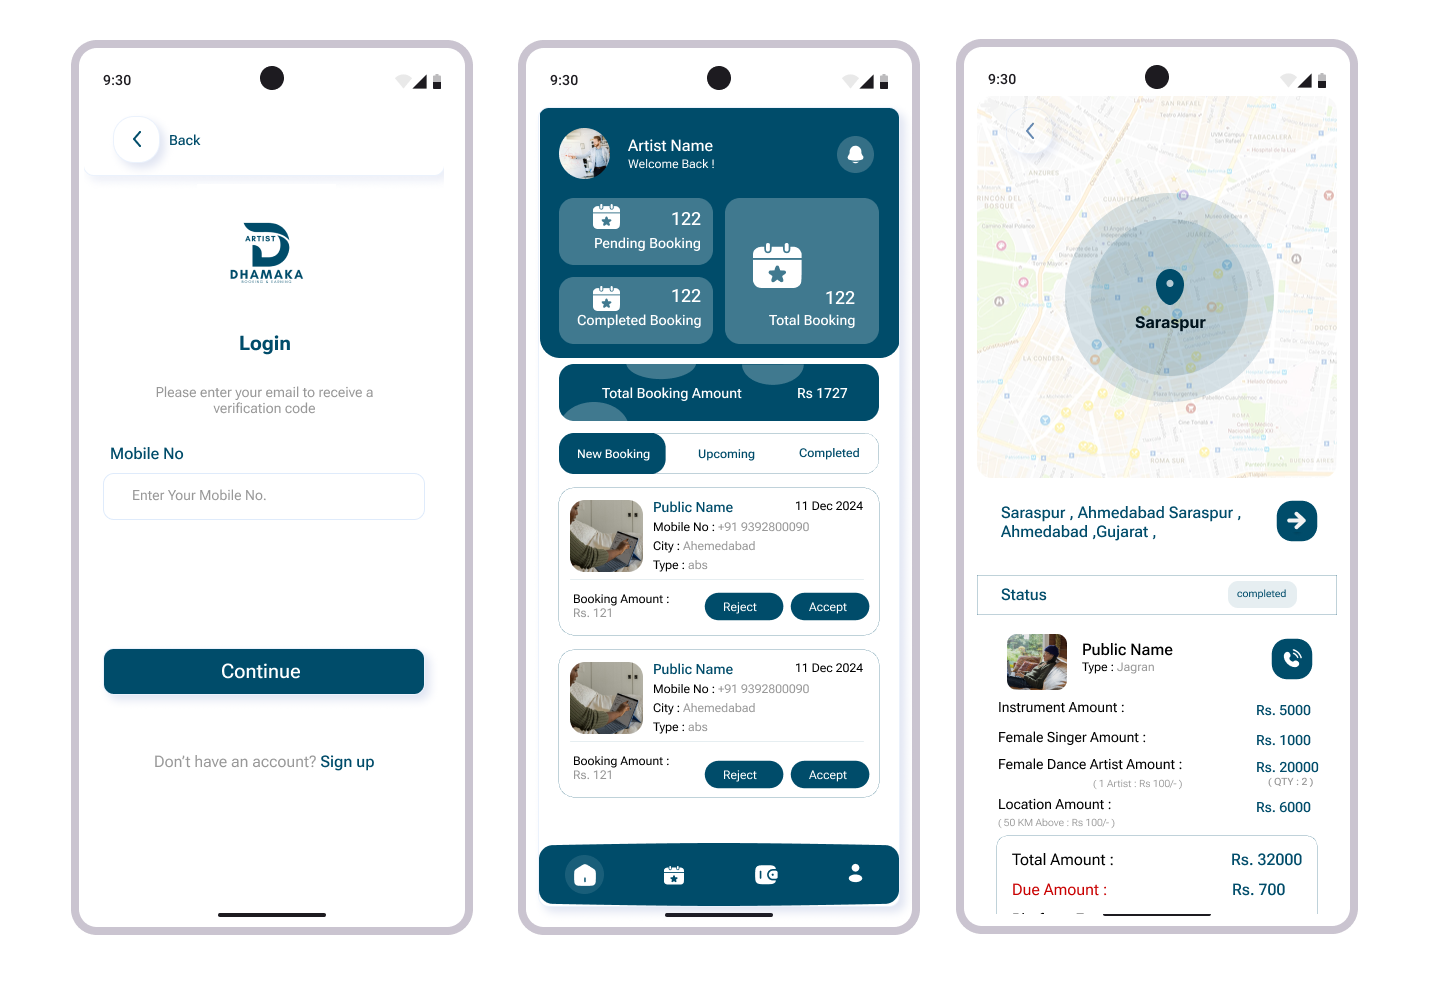
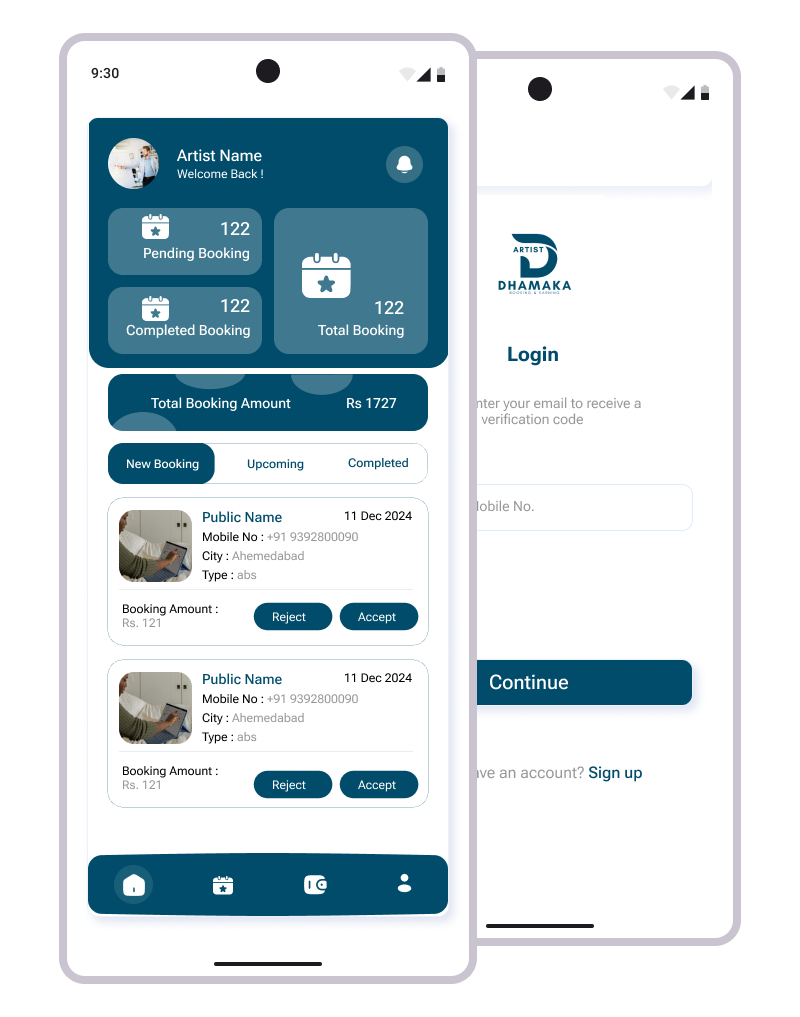
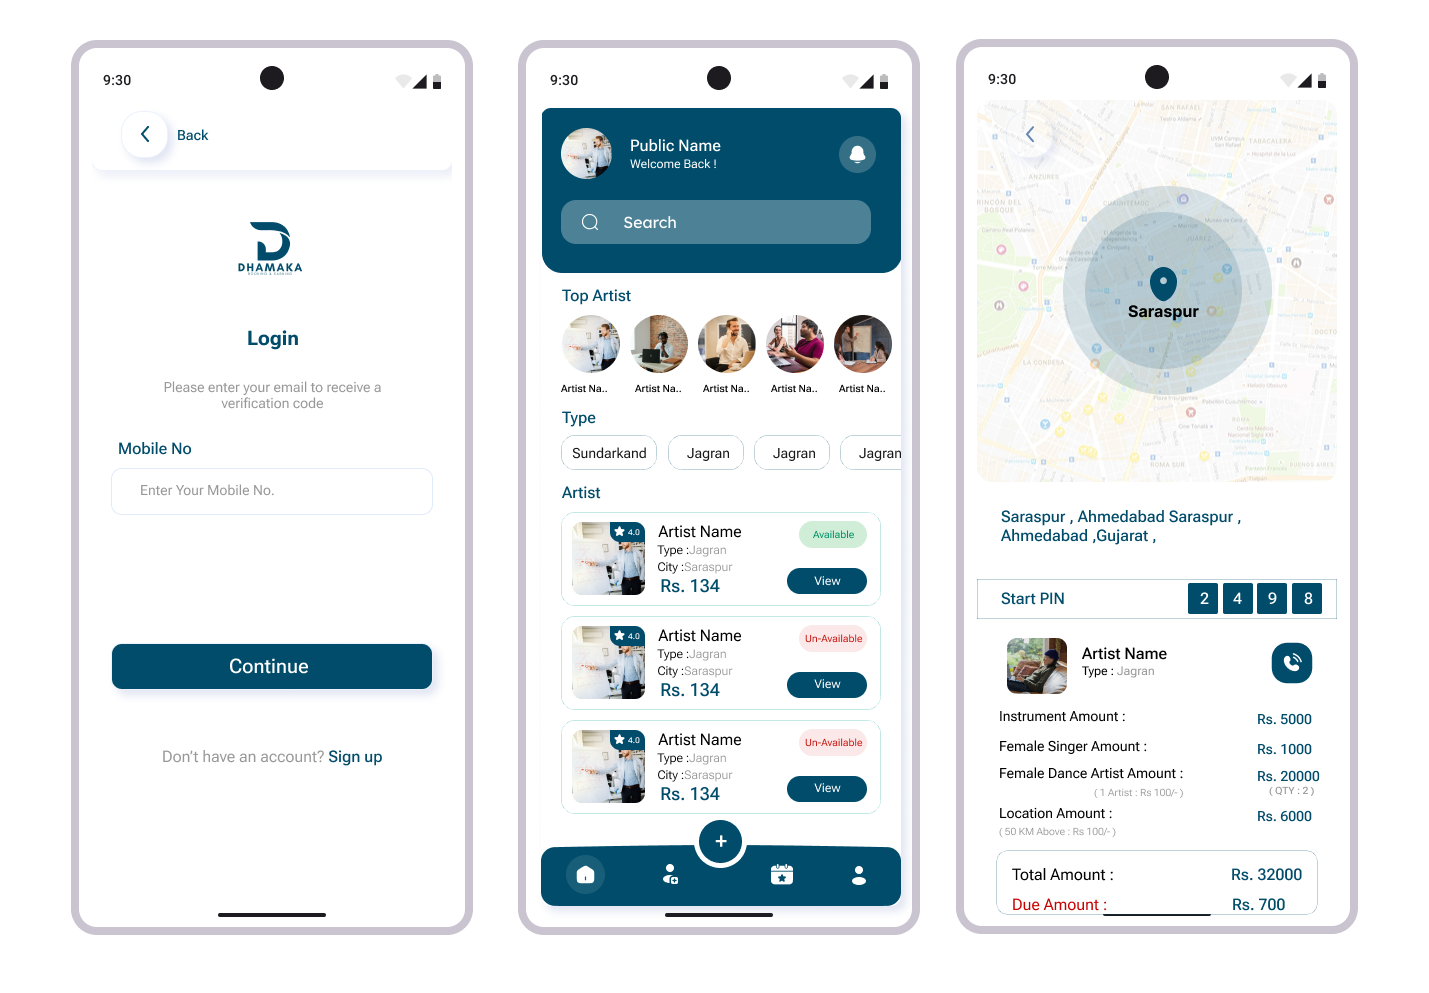
Effortlessly book artists, track transactions, and manage users—all in one app. Simplify your bookings with powerful filters and intuitive tools.
Drafting a piece in follows a structured workflow that transitions from material setup to vector creation. The Pro edition differentiates itself with features like unlimited job size and true shape nesting for production-level efficiency. Step 1: Job Setup Before drawing, you must define your workspace:
For complex pieces, use to organize different parts of your design, such as "Cutouts," "Holes," and "Engraving". This makes it easier to assign specific toolpaths later without manually selecting every line. vectric-cut2d-pro-10-514
Add text using TrueType or single-stroke engraving fonts. Version 10.5 allows you to dynamically move text along curves with an adjustable anchor. Drafting a piece in follows a structured workflow
Choose where the machine's "zero" point is, typically the bottom-left corner or the center . Units: Select either Inches or Millimeters . Step 2: Drawing the Piece This makes it easier to assign specific toolpaths
Use Smart Snapping to align vectors with the corners or midpoints of existing shapes. Step 3: Editing and Refining
The contains all the tools needed to create vectors (the lines your CNC will follow):
Et nihil atque ex. Reiciendis et rerum ut voluptate. Omnis molestiae nemo est. Ut quis enim rerum quia assumenda repudiandae non cumque qui. Amet repellat omnis ea.
Et nihil atque ex. Reiciendis et rerum ut voluptate. Omnis molestiae nemo est. Ut quis enim rerum quia assumenda repudiandae non cumque qui. Amet repellat omnis ea.